Disaster recovery with ZFS and zrepl
(Originally shared on Mastodon)
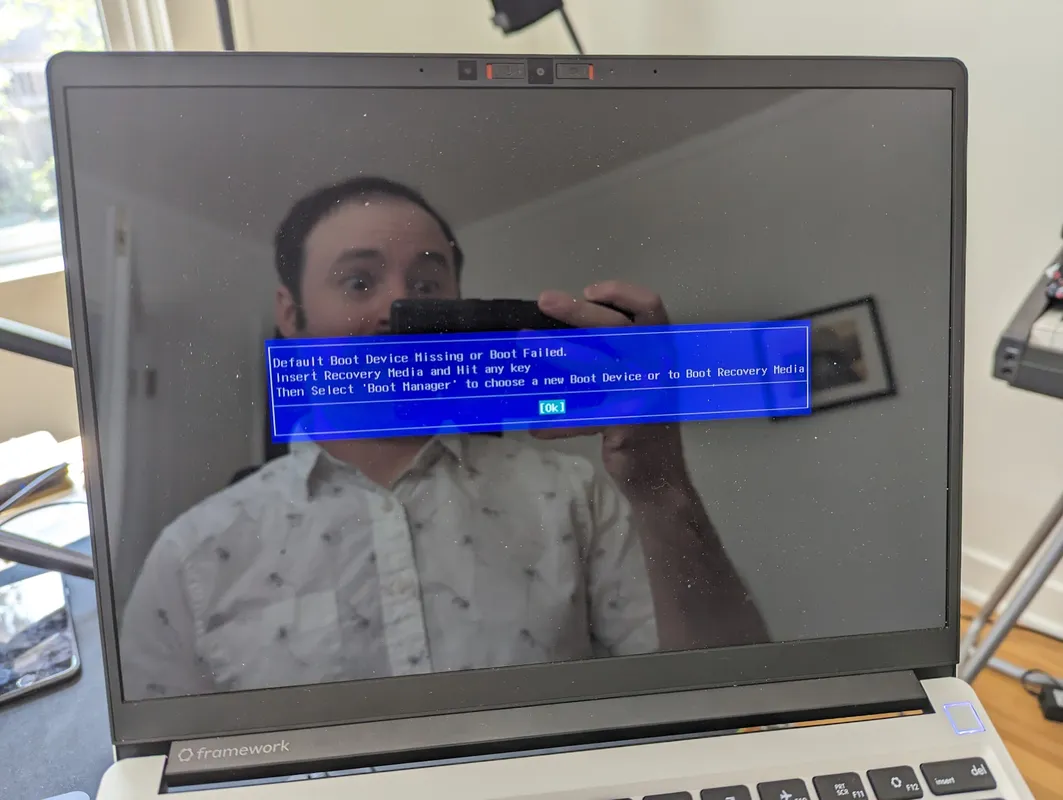
Last week, I pulled open my laptop to send a quick email. It had a frozen black screen, so I rebooted it, and… oh crap.
My 2-year-old SSD had unceremoniously died. This was a gut punch, but I had an ace in the hole. I’m typing this from my restored system on a brand new drive.
In total, I lost about 10 minutes of data. Here’s how.
Preserving data with zrepl
I don’t back up my drives, I replicate them.
Last winter, I set up my first serious home network storage. Part of this project was setting up periodic backups of the computers I do creative work on. After surveying the options, one approach stood out: ZFS incremental replication.
One of the flagship features of ZFS is the ability to take efficient point-in-time snapshots while it’s running. You can then send only the changed data to other machines.
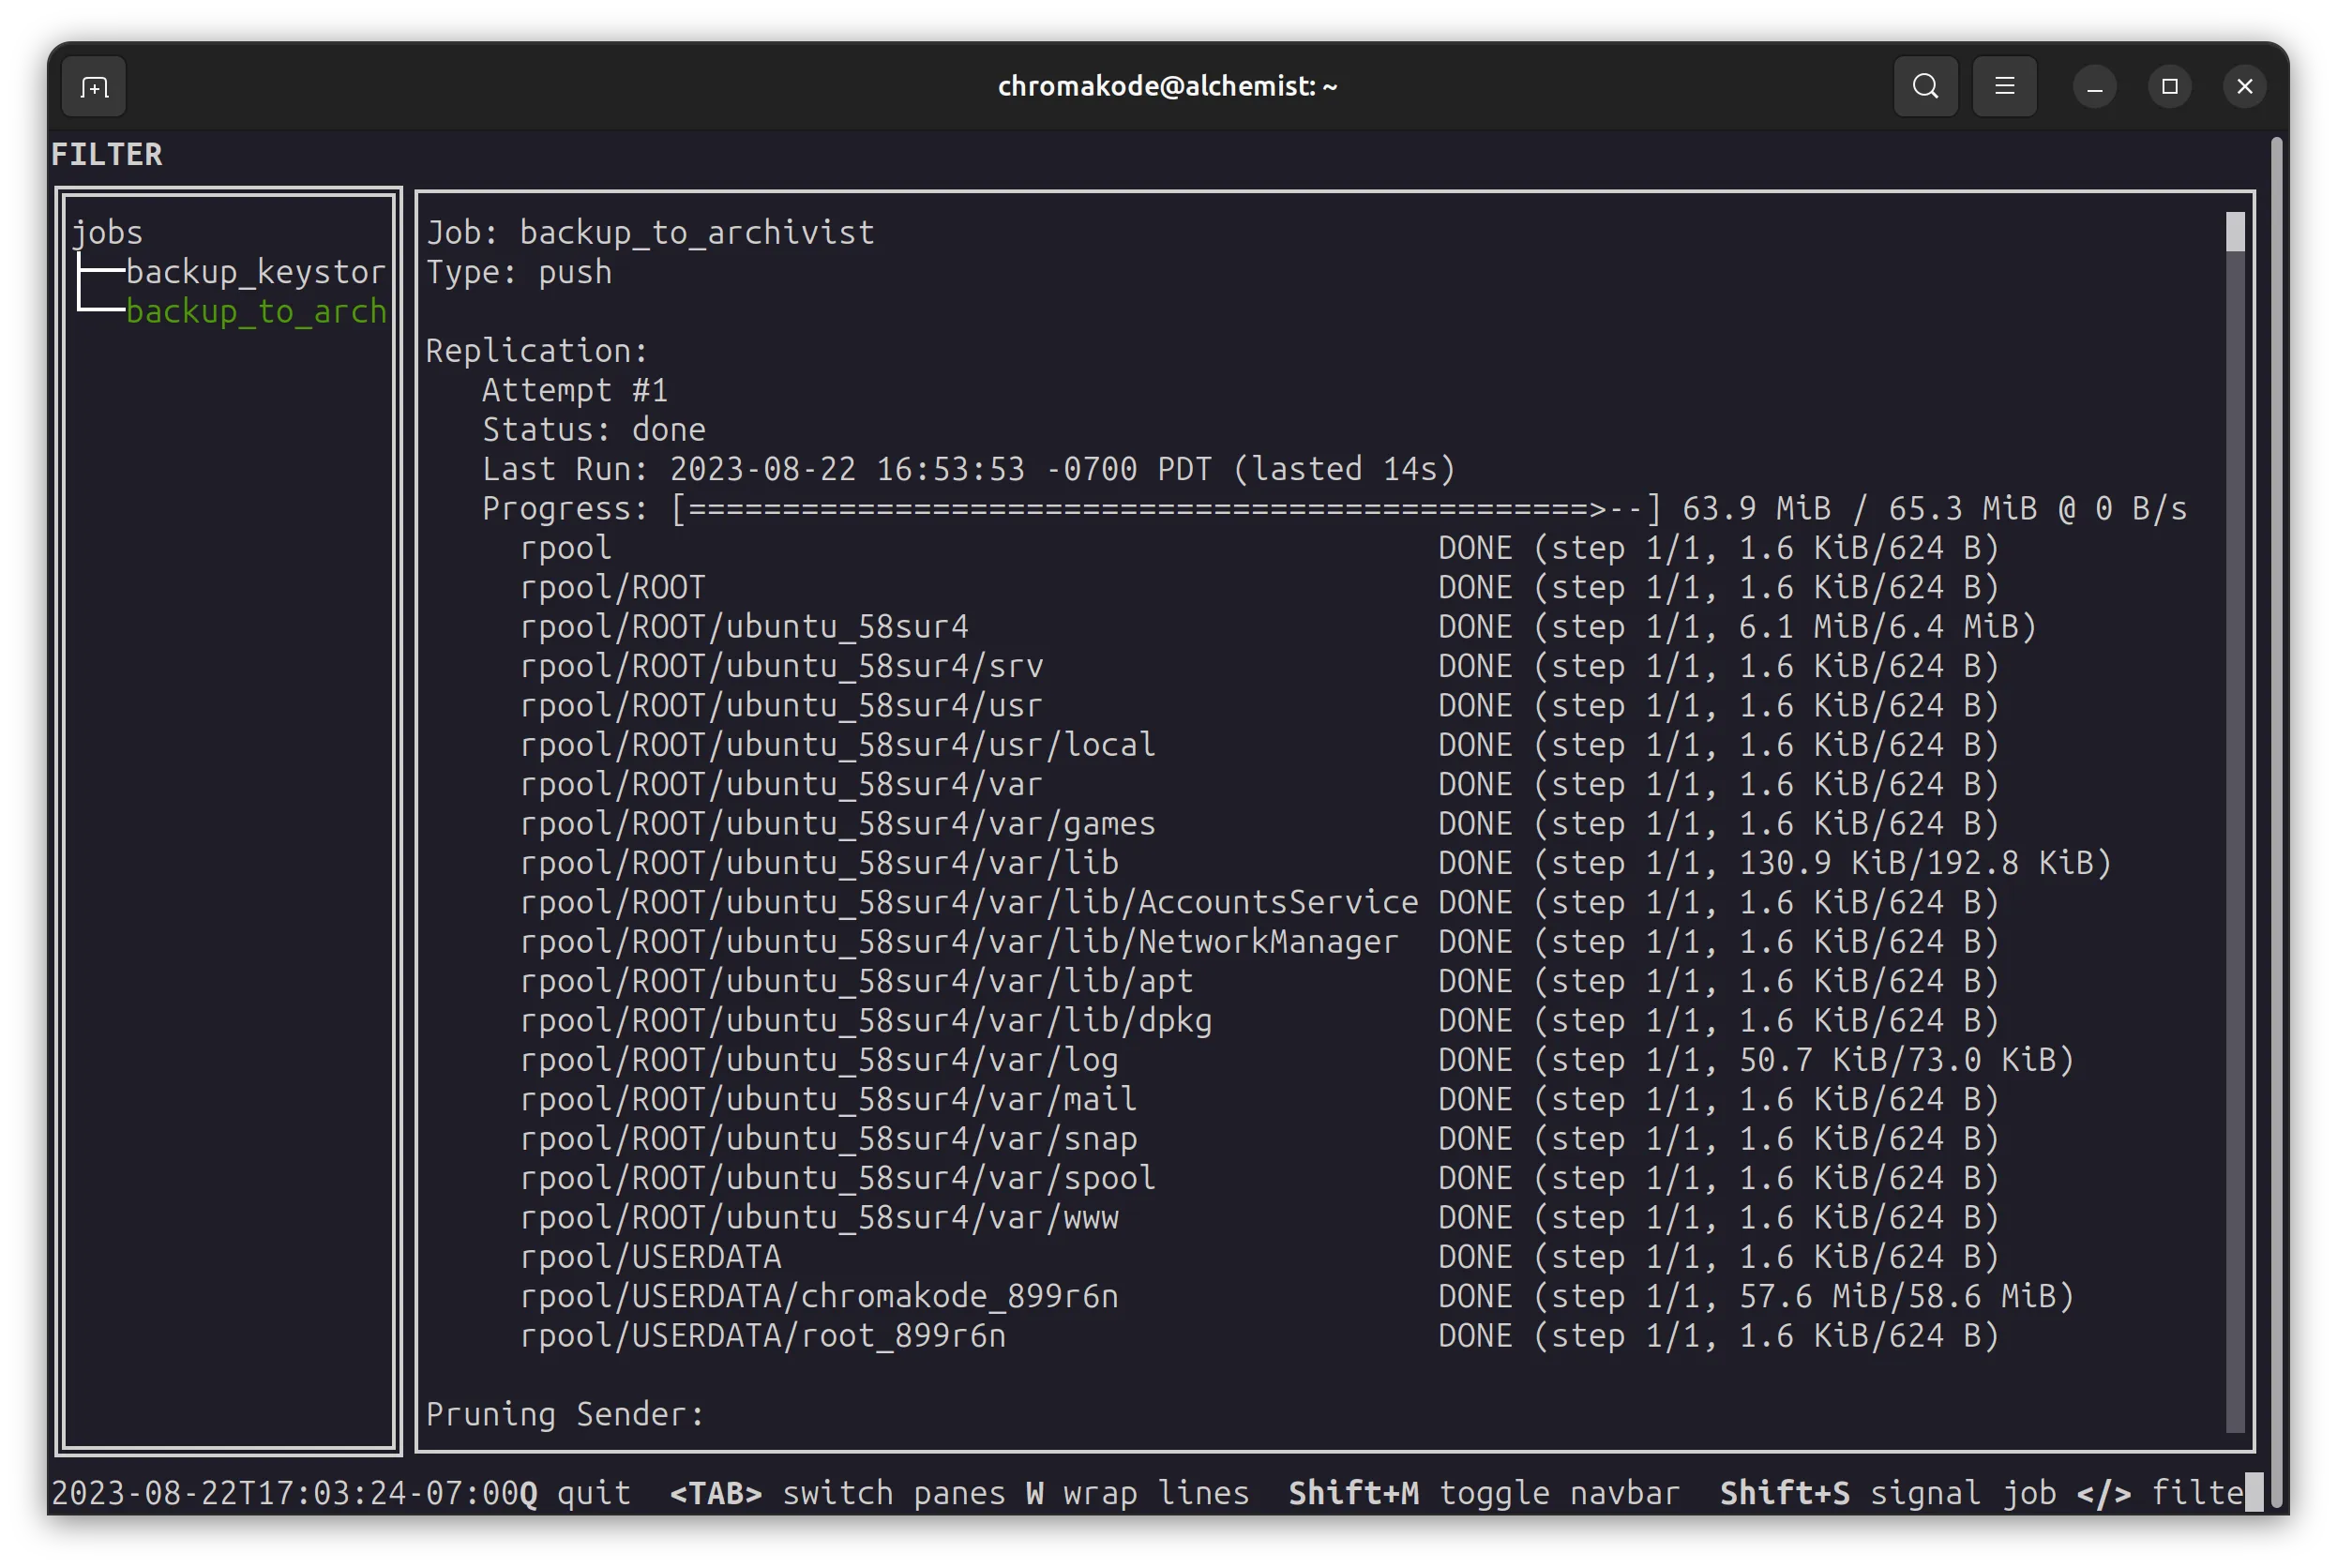
To automate taking snapshots and sending them to my NAS, I’m using a really cool piece of software called zrepl (by @problame). I configured it to snapshot and send my entire filesystem every 10 minutes.
Since the snapshots are incremental, this is fine to run in the background on my home network to keep the replica up to date. The last run took 14 seconds to transfer and sent about 64 MiB.
Restoring from ZFS snapshots
Restoring the system was a learning process, and unfortunately quite manual. I let the 625 GiB ZFS receive operation run overnight.
My snapshots are encrypted by the original computer (this is cool because the NAS can’t read them!). So I also needed to restore the encryption “wrapper key” to be able to use the backups.
Initially when I tried to load the key, the decryption failed, and my stomach dropped. When plans don’t work, there’s a moment of clarity where all of the process failures become glaringly obvious. Thankfully, after peering closer at the output, I’d copied over the key file for the wrong system. A moment later I had confirmation I could decrypt the data. Such a happy moment!
To rebuild my system, I followed the OpenZFS guide for setting up an Ubuntu 22.04 root filesystem from scratch via live USB.
This was a priceless resource for getting back up and running. It’d intimidated me in the past, but it’s so thorough, and I learned a ton going through the process. This is the best hand-on guide I’ve seen for modern partitioning and chrooting in a Debian environment.
The end result was a beautiful moment: my laptop booted back up to right where I’d left it. Even my browser tabs restored my unfinished work from the previous night.
Planning for mayhem
There’s this classic series of Chromebook ads from 12 years ago where computers are repeatedly destroyed in elaborate ways. Each time, the host gets a new laptop and picks up where they left off, with no data lost.
That ad has been in my imagination for over a decade. I finally achieved my dream of having a similar disaster recovery plan. And it worked!
Setting ZFS up initially had a really high starting cost: it took a full filesystem swap. Maintaining it takes fairly knowledge-heavy and manual processes. But it certainly has unique benefits.
This is the first time I can recall losing an SSD in over 15 years of using them. It was fantastic luck that I’d set up replication before my first one failed. 😇
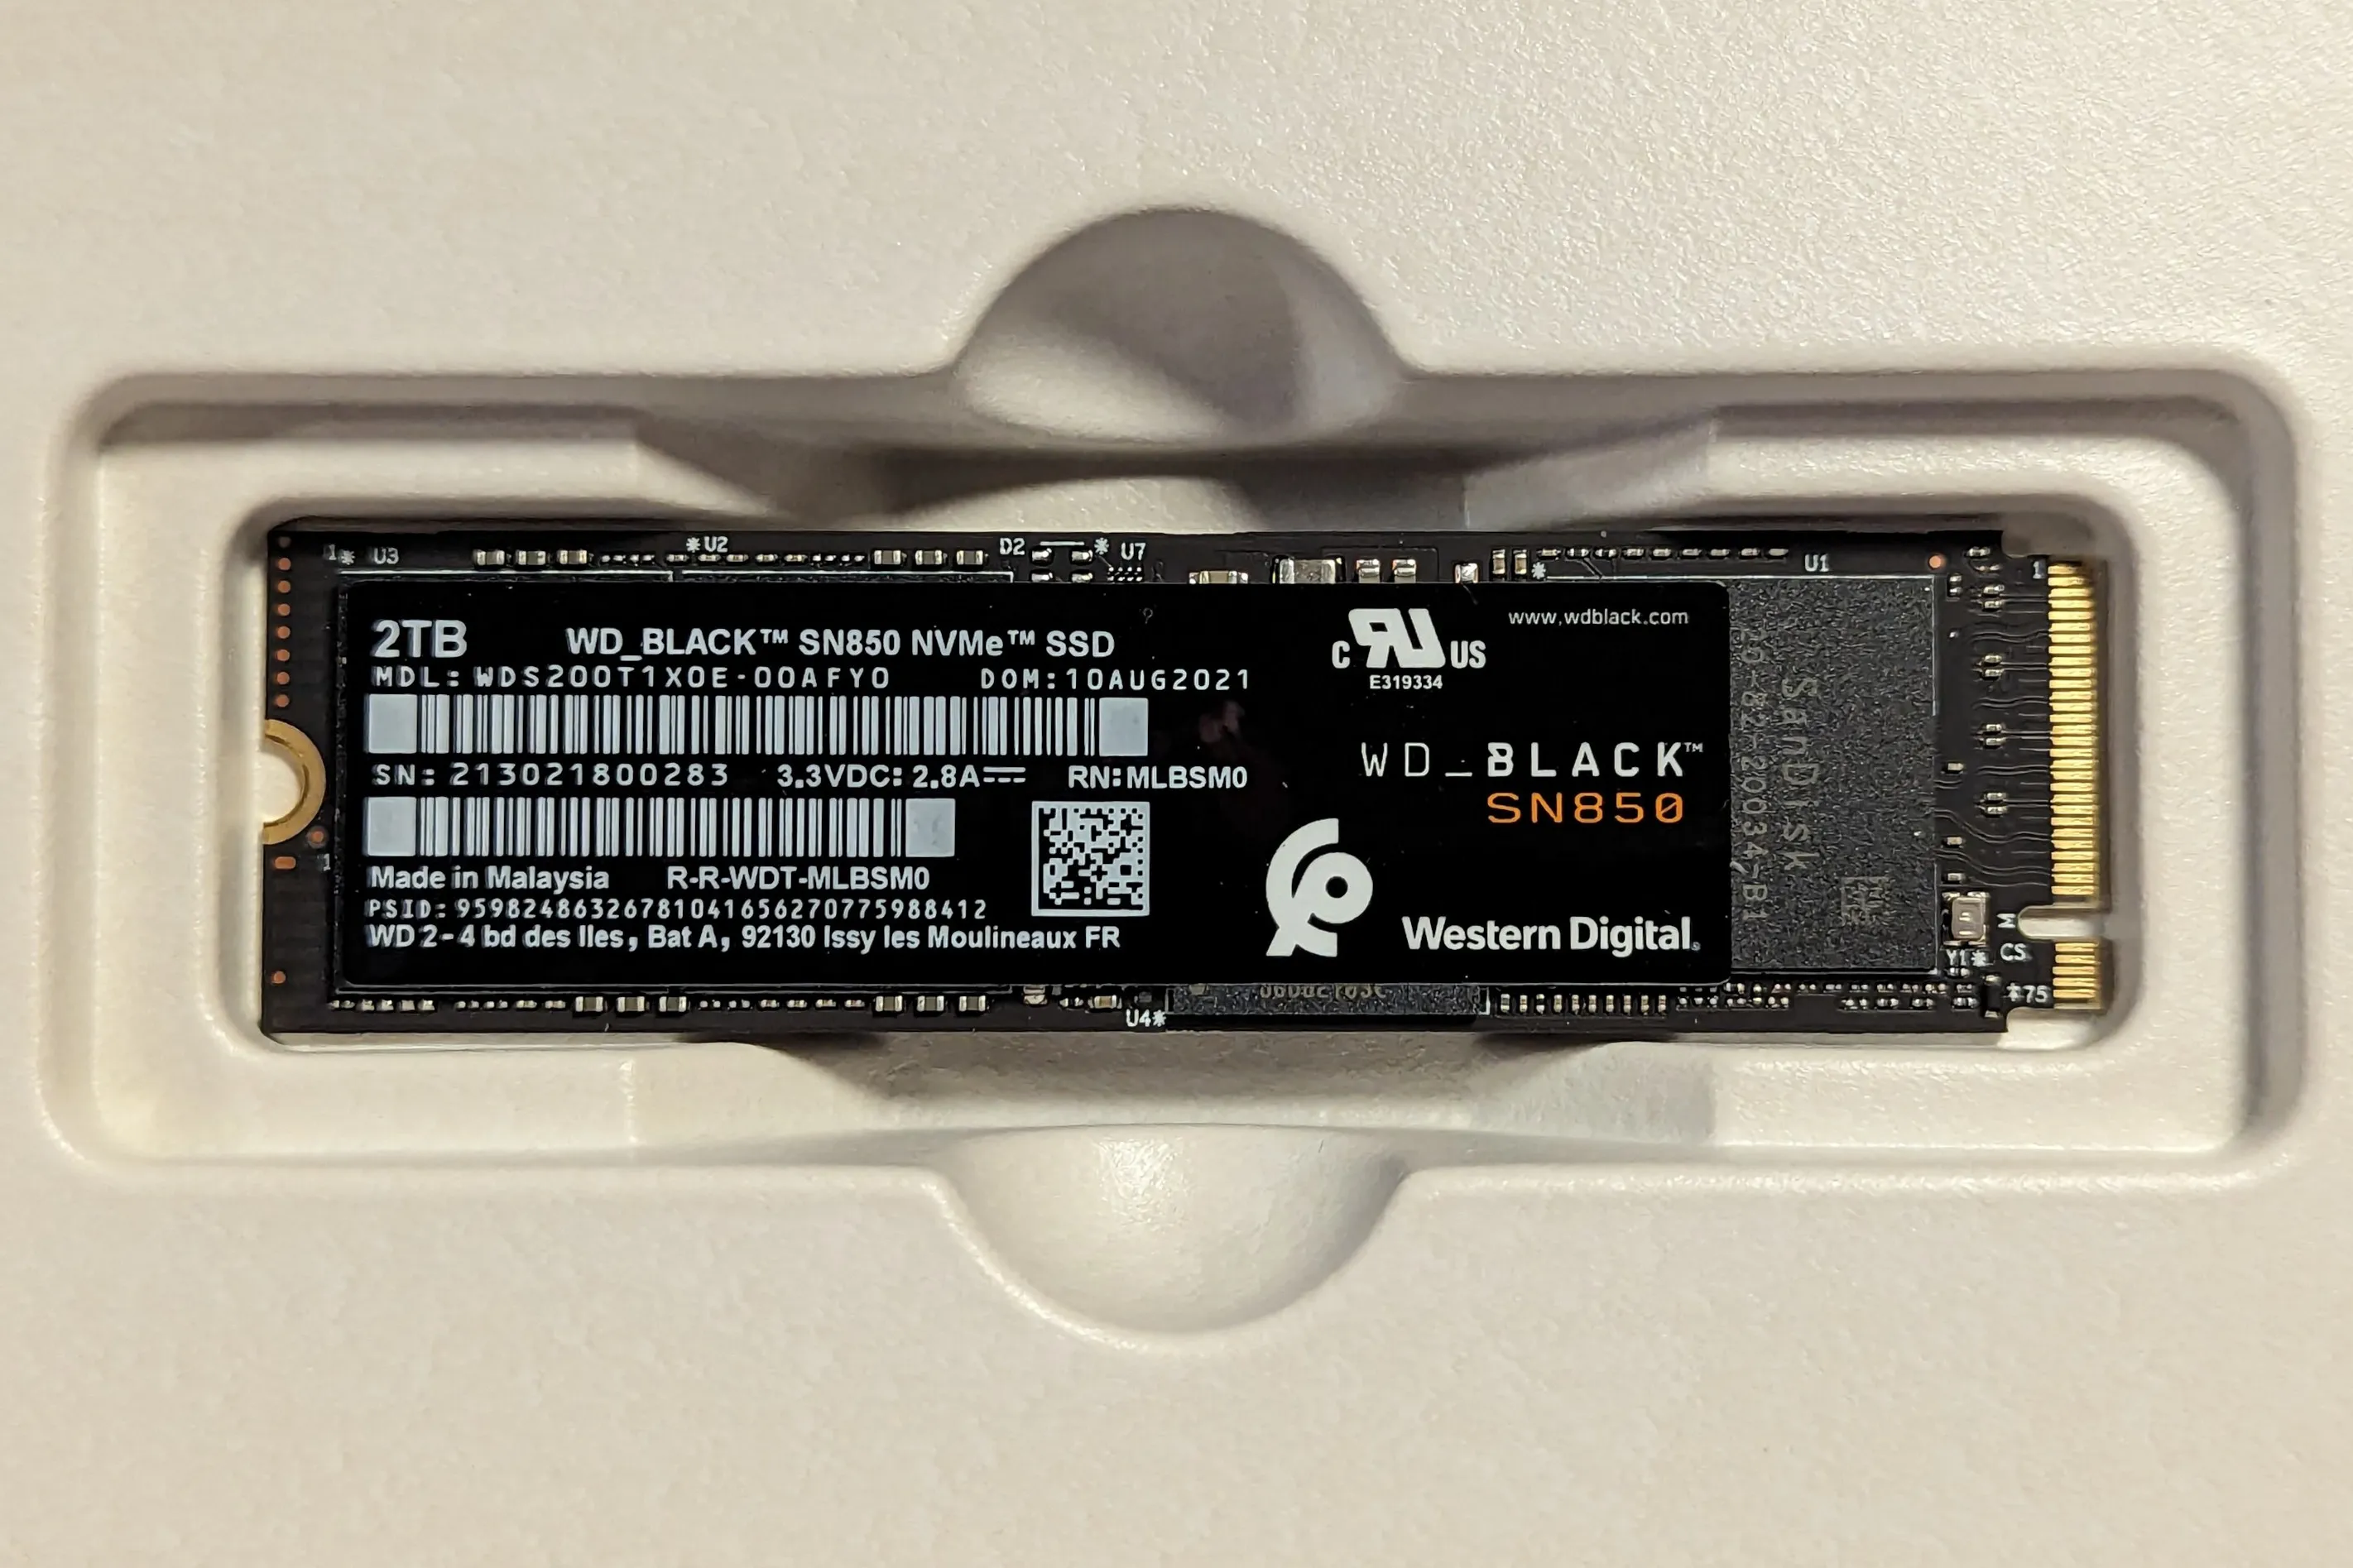
If you’re curious, the offending drive was a WD_BLACK SN850 from my original Framework order. I’d heard unsettling stories on the Framework forums of this drive spontaneously dying or becoming unbootable. I guess it was my turn to roll some unlucky numbers.